I’ve been looking for ways to make better use of the storage space I already have in my kitchen. I want to keep my pantry organized, have more room in my fridge for prepared ingredients, and stock my freezer with homemade food without filling it with bulky containers.
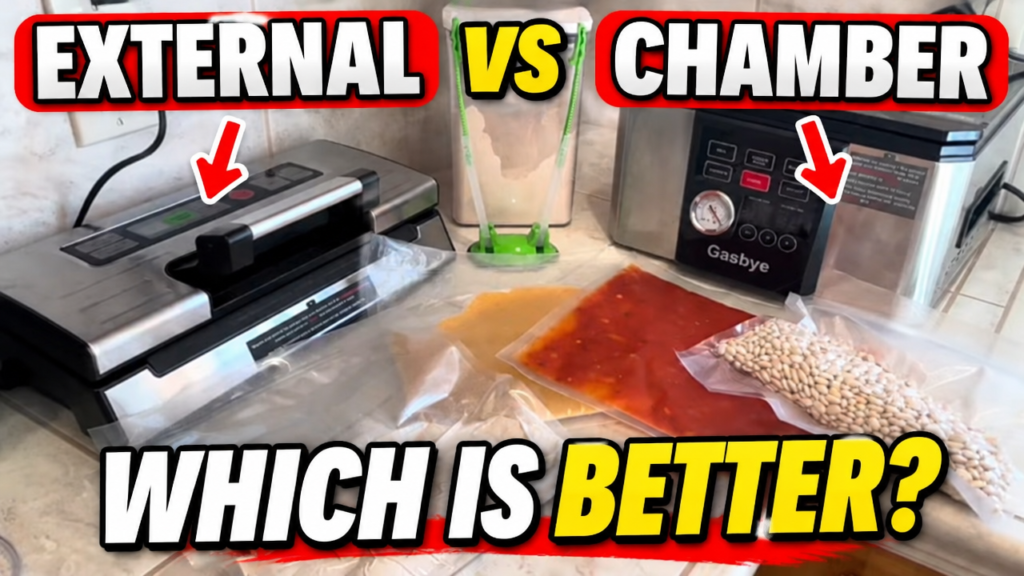
That’s why I wanted to try these two Gasbye vacuum sealers for a food vacuum sealer comparison.
I have an external vacuum sealer and a chamber vacuum sealer, and while they both remove air from packaging, they work differently and are better suited to different jobs.
Sponsored post: Thank you to Gasbye for sending me these two vacuum sealers in exchange for my honest review.
View my comparison video:
Food Vacuum Sealer Comparison: Chamber vs. External—Which Is Better for a Home Kitchen?
Today, I’m going to compare them using the kinds of foods I actually make at home, so we can see which one makes the most sense for an organized, well-stocked kitchen.
Check price of Gasbye Vacuum Sealers on Amazon >
Part 1: Why I’m trying vacuum sealing
One thing I’ve noticed is how much space food storage containers can take up.
When I make a big batch of soup in my Instant Pot, prepare homemade soy milk, or make sauces and other ingredients from scratch, I need somewhere to store everything.
Rigid containers take up space even when they’re only partially filled. And in the freezer, it can be difficult to stack containers or find the food I want.
My goal is to find a better system: portioning food, packaging it appropriately, and organizing it in bins so I can see what I have and use the space more efficiently.
I’m also going to look at pantry ingredients, because vacuum sealing isn’t just about leftovers and frozen meat. It can be useful for packaging suitable dry ingredients purchased in bulk.
Part 2: Gasbye external vacuum sealer
Let’s start with the external vacuum sealer.
This type of machine removes air through the open end of a bag and then seals it. It’s a practical option for many everyday foods, especially solid ingredients and dry items.
For example, I can portion ingredients, package food for the freezer, and store suitable pantry staples in compact bags.
The thing to know is that liquids can be difficult to seal directly because the suction can pull liquid toward the machine. You have to be more careful with wet foods, and you need to follow the machine’s instructions.
For my demonstration, I’m going to show how it handles a few everyday ingredients and see how easy it is to package them for organized storage.
Check price of Gasbye Vacuum Sealers on Amazon >
Part 3: Gasbye chamber vacuum sealer
Now let’s look at the chamber vacuum sealer.
Instead of pulling air directly out through the bag opening, this machine removes air from the chamber around the bag. That makes it particularly useful for sealing bags containing suitable wet foods and liquids.
This is the feature I’m most interested in because I make so many things from scratch.
Think about homemade soup, sauces, cooked beans, and other ingredients that I might want to portion and freeze. Rather than trying to manage liquid near an external suction channel, a chamber sealer is designed to handle liquid-containing bags.
I also want to experiment with freezing portions first and then sealing them. That could be a practical way to package homemade soups and other foods for my freezer.
I’ll be following the manufacturer’s instructions and testing the packaging to see how well the seals hold.
Watch this vacuum seal flour without the mess:
Part 4: Comparing the storage results
The real test for me isn’t just whether the machines remove air. It’s what happens to the food afterward.
I’m going to compare how the packaged portions fit into my storage system.
Can I organize them in bins? Can I stack them? Can I store frozen portions vertically, like files in a drawer? And how much space do the packages take up compared with the containers I would normally use?
I’m also going to be realistic about which foods benefit from vacuum sealing. Delicate bread, for example, can be compressed. Some foods are better in ordinary containers, while others are much easier to store in flexible bags.
I don’t want to vacuum-seal everything just because I have a vacuum sealer. I want to find the right method for each food.
Part 5: Pantry, fridge, and freezer food prep
Here’s the bigger picture I’m working toward.
In the pantry, I can portion suitable dry ingredients and organize bulk purchases.
In the refrigerator, I can use bins to organize suitable prepared ingredients and leftovers, while keeping perishable foods safely refrigerated.
And in the freezer, I can build a collection of homemade meals and ingredients in individual portions, with flat packages that are easier to label, stack, and find.
The goal is to keep more of the food I actually use on hand without letting storage containers take over the kitchen.
Of course, vacuum sealing doesn’t make perishable foods shelf-stable or eliminate the need for proper refrigeration and freezing.
My opinion: Best vacuum sealer
After testing these two machines, I think the best choice depends on how you cook and what you want to store.
If you mainly package solid foods, an external vacuum sealer may be all you need.
If you regularly prepare sauces, soups, liquids, and other wet ingredients, a chamber sealer may be worth considering.
For me, this experiment is about creating a kitchen that’s easier to organize and keep stocked with homemade food.
I’m going to keep testing different foods and storage methods, because I want to find out which ones genuinely save space and make everyday cooking more convenient.
Check price of Gasbye Vacuum Sealers on Amazon >
Further reading:
CHEF TESTS: Neretva Bread Maker Review
Pin this post on Pinterest: